

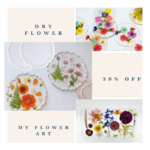
DIY Pressed Flower Art: Step-by-Step Guide for Stunning Creations
May 9, 2014
Top 10 Creative Uses for MDF Cutouts:
January 6, 2024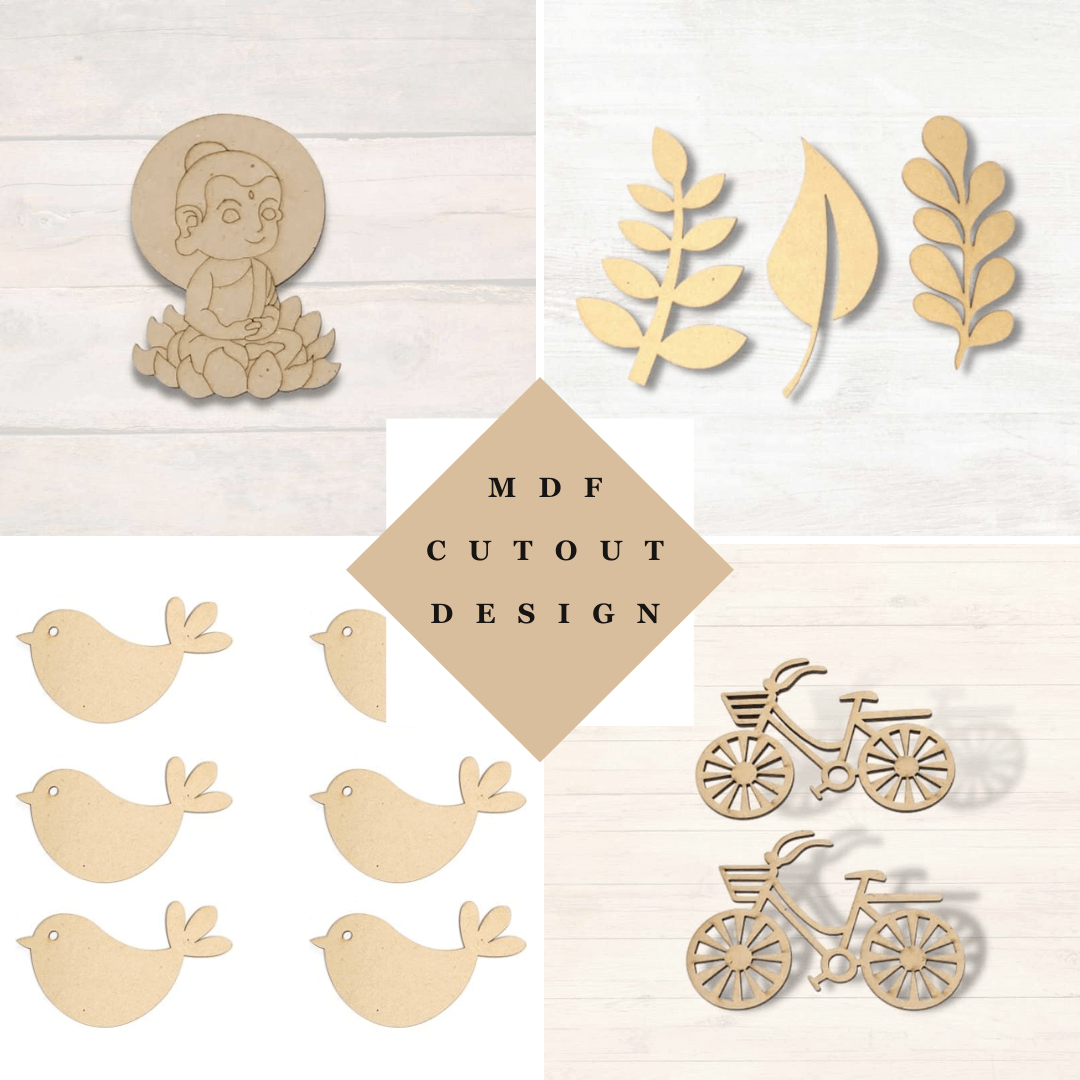
Tips and techniques for painting, staining, and decorating MDF cutouts to achieve professional-looking results.
Painting and decorating MDF (Medium-Density Fiberboard) cutouts can be a fun and rewarding DIY project. Whether you're a beginner or an experienced crafter, here are some simple tips and techniques to help you achieve professional-looking results.
1. Choose the Right Materials: Before you start painting and decorating your MDF cutouts, make sure you have the right materials on hand. You'll need:
- MDF cutouts (pre-cut or custom-made)
- Sandpaper (medium and fine grit)
- Primer
- Paint or stain
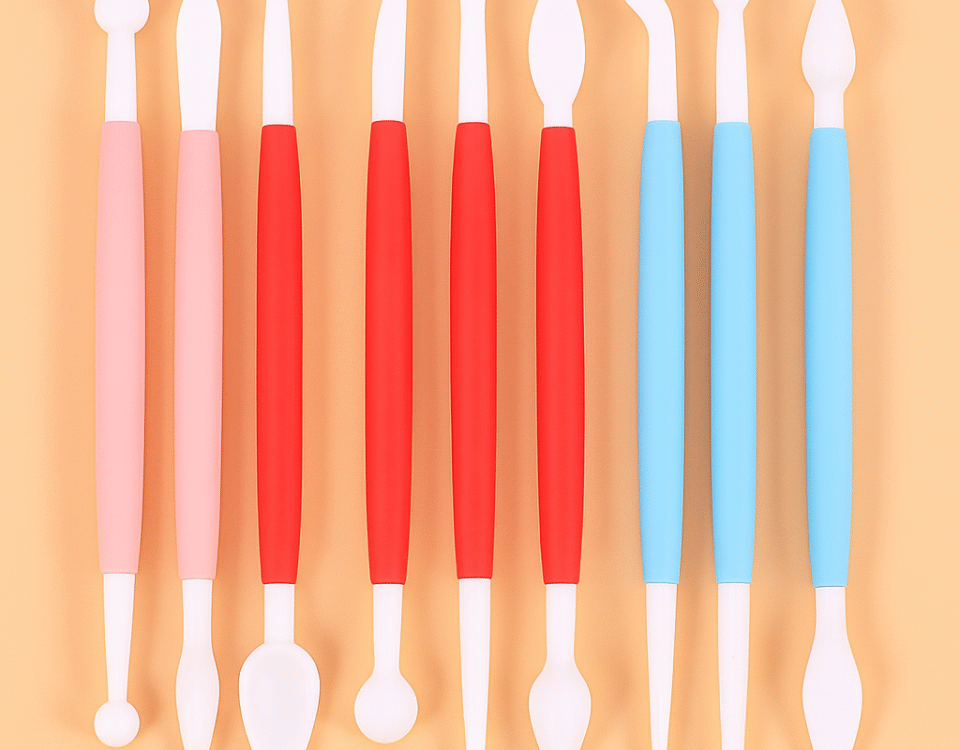
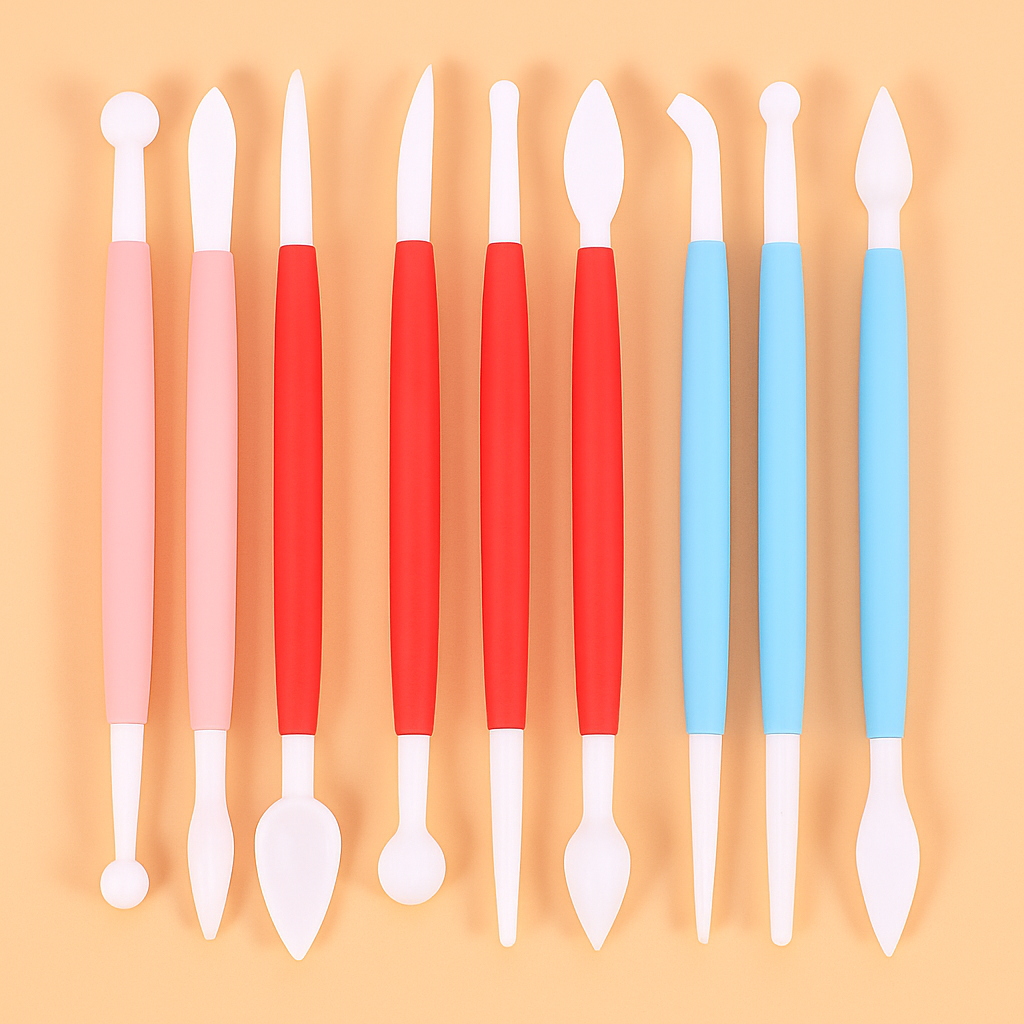
- Brushes or foam rollers
- Decorative elements (decals, stencils, etc.)
- Sealant (optional)
2. Prepare the Surface: The key to a smooth and professional finish lies in proper surface preparation. Begin by sanding the edges and surfaces of your MDF cutouts with medium-grit sandpaper to remove any rough spots or imperfections. Then, switch to fine-grit sandpaper to achieve a smooth and even surface.
3. Apply Primer: Priming your MDF cutouts is essential for achieving vibrant and long-lasting colors. Apply a thin, even coat of primer to the entire surface of your cutouts using a brush or foam roller. Once you've applied the primer, give it enough time to dry completely before you proceed to the next stage.
4. Choose Your Painting Technique: When it comes to painting MDF cutouts, you have several options to consider:
- Brush Painting: Use a high-quality paintbrush to apply paint in smooth, even strokes. This method lets you have more control and accuracy, especially when dealing with detailed designs.
- Spray Painting: For larger MDF cutouts or projects requiring a seamless finish, consider using spray paint. Make sure to work in a well-ventilated area and apply multiple thin coats for best results.
5. Get Creative with Decorative Elements: Once your base coat of paint is dry, it's time to get creative! Experiment with different decorative elements such as decals, stencils, and embellishments to add personality and flair to your MDF cutouts. You can also try techniques like sponge painting or layering multiple colors for added depth and texture.
6. Seal and Protect: To preserve the beauty of your painted MDF cutouts, consider applying a sealant or topcoat. This not only protects the surface from scratches and fading but also enhances the colors and finish of your artwork. Choose a clear sealant that is compatible with your paint and allow it to dry completely before displaying or hanging your MDF cutouts.
7. Have Fun and Experiment: Above all, don't be afraid to get creative and experiment with different painting and decorating techniques. Whether you're adding a pop of color to your home decor or creating custom signage for an event, MDF cutouts offer endless possibilities for artistic expression.
With these simple tips and techniques, you can paint and decorate MDF cutouts like a pro! So gather your supplies, unleash your creativity, and let your imagination soar. Happy crafting!