

Painting and Decorating MDF Cutouts:
July 9, 2023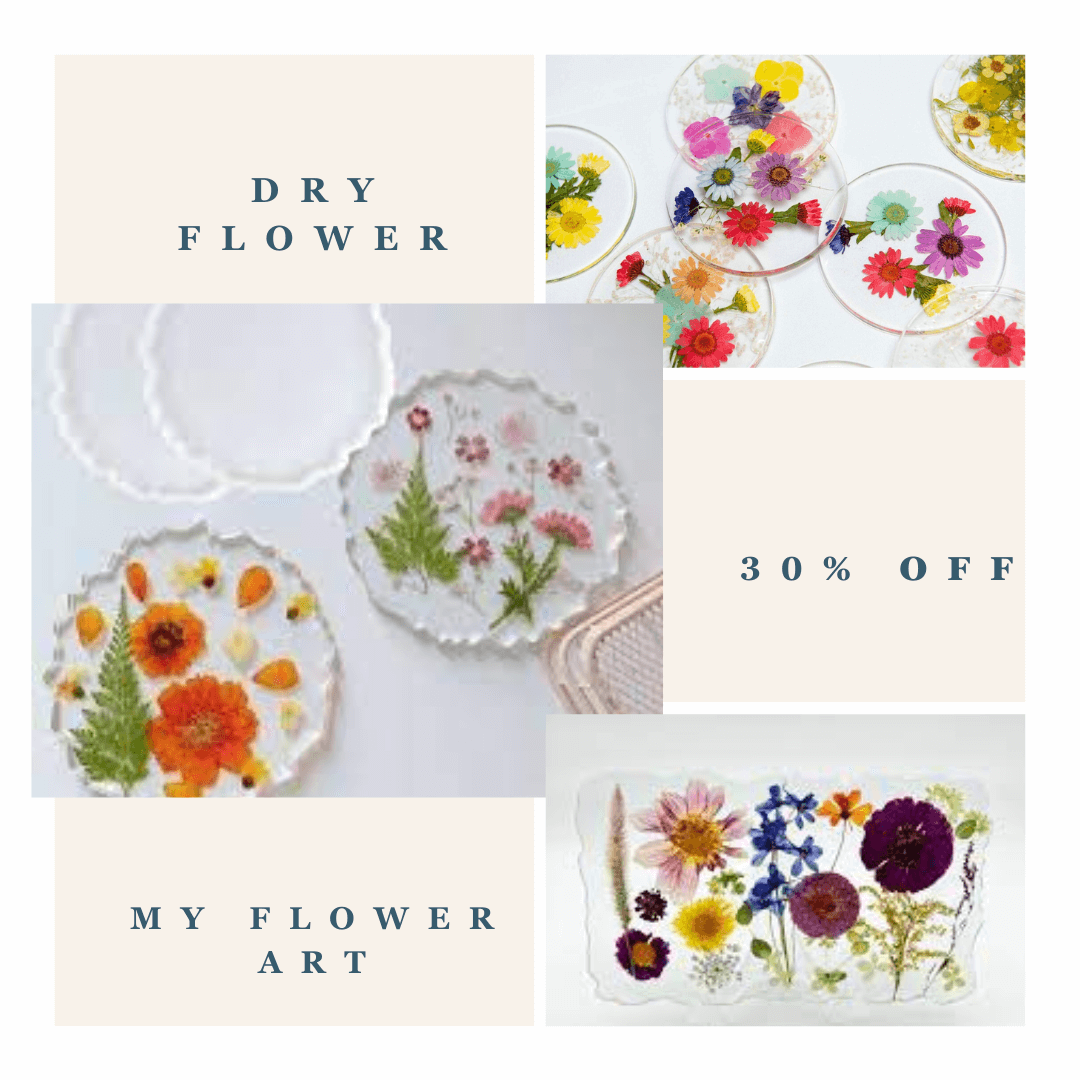
Introduction: Pressed flower art is a timeless and delightful way to preserve the beauty of nature in creative artworks. With simple materials and a bit of patience, you can transform dried flowers into stunning pieces of art that capture the essence of the outdoors. In this step-by-step guide, we'll walk you through the process of creating your own pressed flower art masterpiece.
Materials You'll Need:
- Dried flowers of your choice
- Heavy books or a flower press
- Parchment paper or absorbent paper
- Scissors or tweezers
- Acid-free glue or adhesive
- Acid-free paper or cardstock
- Optional: frame for displaying your artwork
Step 1: Collecting and Drying Flowers: Begin by collecting an assortment of flowers and foliage from your garden or local florist. Choose blooms that are fresh and vibrant, avoiding flowers that are wilted or damaged. Once you've gathered your flowers, carefully remove any excess foliage and arrange them in a single layer between sheets of absorbent paper.
Step 2: Pressing the Flowers: Place the arranged flowers between the pages of heavy books or in a flower press, making sure they are spaced apart evenly to prevent overlapping. Add additional weight on top of the books or press to apply pressure evenly across the flowers. Leave the flowers pressed for 1-2 weeks to allow them to dry completely.
Step 3: Selecting and Arranging Flowers: Once your flowers are dry and pressed, carefully remove them from the books or press. Use scissors or tweezers to select the flowers and foliage you'd like to include in your artwork. Experiment with different combinations and arrangements until you find a design you're happy with.
Step 4: Assembling the Artwork: Prepare a piece of acid-free paper or cardstock as the base for your artwork. Arrange the pressed flowers and foliage on the paper, taking care to position them exactly as you'd like them to appear in the final piece. Once you're satisfied with the arrangement, use a small amount of acid-free glue or adhesive to secure the flowers in place.
Step 5: Final Touches and Display: Allow the glue to dry completely before handling or framing your pressed flower artwork. Once dry, you can frame your artwork using a frame of your choice or display it as is. Pressed flower art makes a beautiful addition to any room and can be enjoyed for years to come.
Tips and Tricks:
- Experiment with different types of flowers and foliage to create unique and interesting compositions.
- Consider incorporating other elements such as petals, leaves, and stems to add depth and texture to your artwork.
- Store your pressed flower artworks in a cool, dry place away from direct sunlight to preserve their color and vibrancy.
Creating your own pressed flower art is a rewarding and enjoyable craft that allows you to showcase the beauty of nature in a creative and meaningful way. So gather your materials and let your imagination bloom!